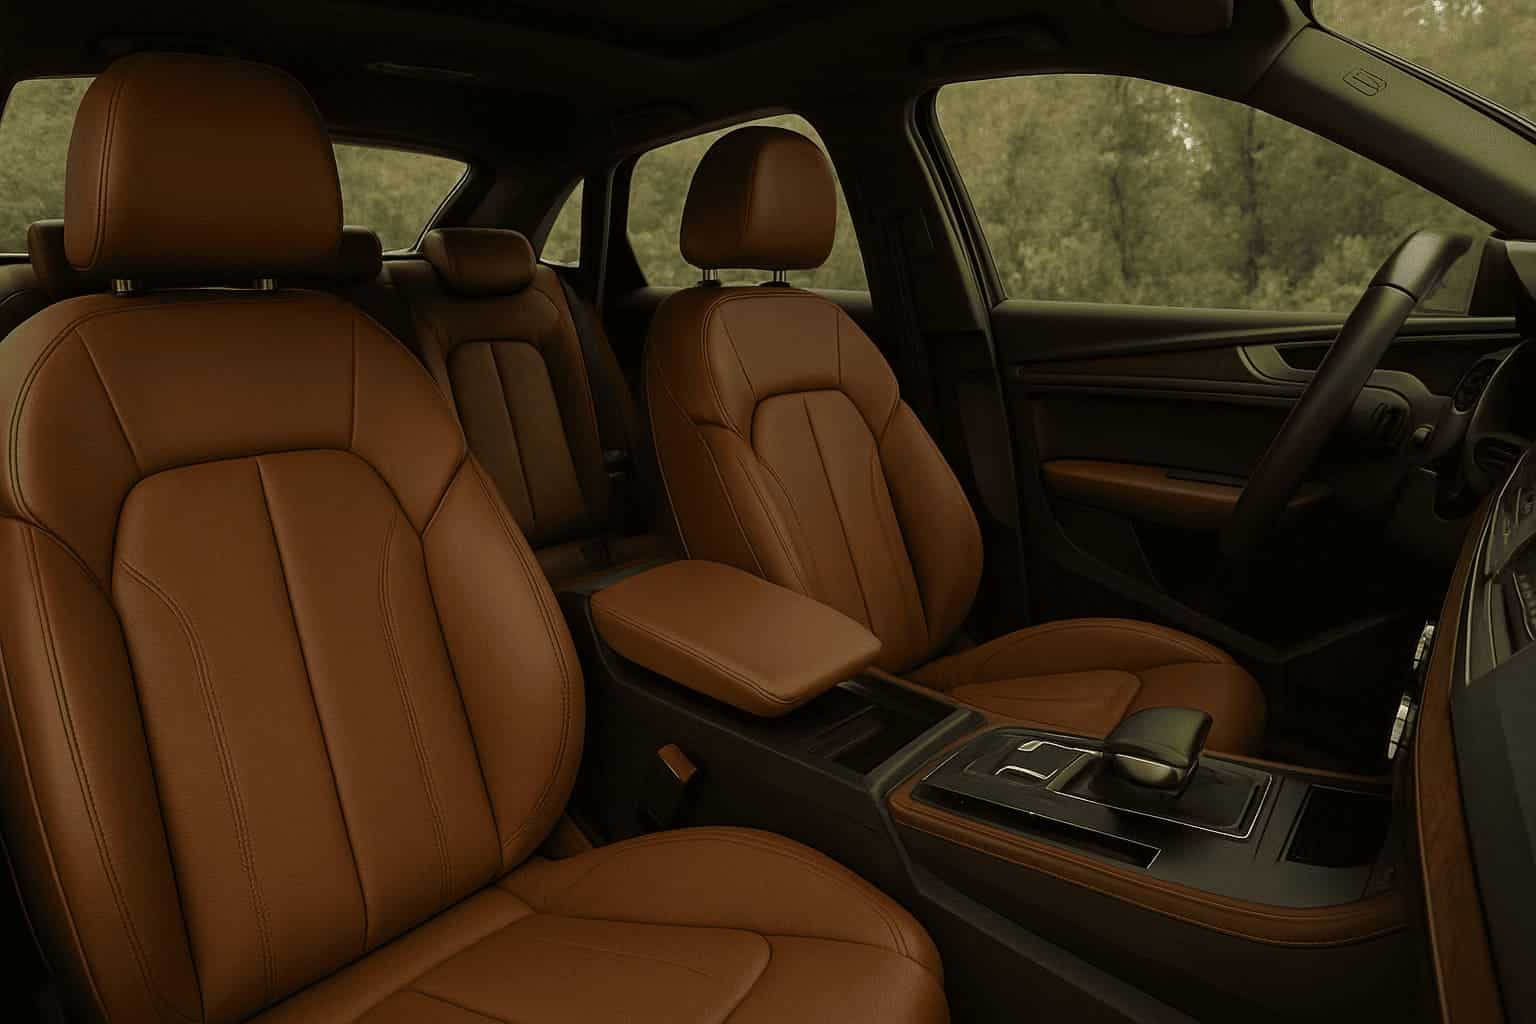
- Leather type: Aniline leather, common in BMW, Mercedes and Audi, reacts completely differently to colorants than standard pigmented leather. One wrong product means permanent damage.
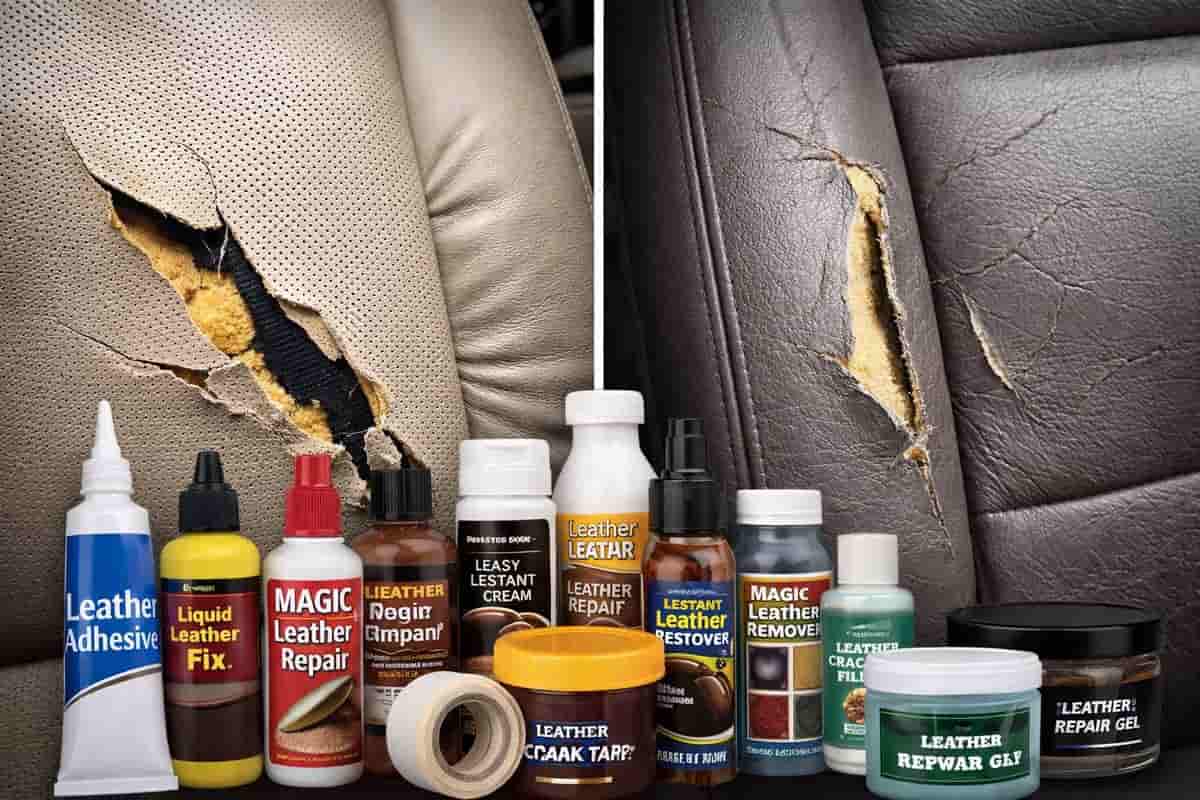
Whether you have a ripped leather car seat, a clean split, or cracked leather spreading from an old dry patch – the repair approach is different for each. Getting this wrong at the start is the most common reason DIY repairs fail.
If the tear is longer than 2 inches, sits on a flex point like the bolster or center crease, or has ragged edges – stop here. A kit will not give you a result you’re happy with six months from now.
What You Actually Need – Not What the Kit Includes
If you’re going ahead, here’s the full honest list:
- Leather backing fabric patch – firm and flexible, not the thin mesh in budget kits
- pH-balanced leather cleaner – isopropyl alcohol works on pigmented leather only, never on aniline
- Flexible leather filler – rigid compounds crack within weeks on any surface that flexes
- Color-matched leather dye – this is where most DIY jobs fall apart completely
- Grain texture sheet – without this the repair looks flat and obvious against the rest of the seat
- 400-600 grit sandpaper, palette knife, heat gun, and sealant
The real cost: quality materials bought separately run $60-$120. The $20 Amazon kit cuts corners on exactly the things that matter most – filler flexibility and color accuracy.
How to Repair a Large Tear in Leather Car Seat – Step by Step
This is the method professional technicians use. Plan for 3-5 hours of work plus overnight cure time. There are no shortcuts that hold up.
Step 1 – Clean the Area Completely
Remove every trace of oil, conditioner, and silicone from the repair zone. Contamination kills adhesion. Use a pH-balanced cleaner with a microfiber pad and let the surface dry for at least 20-30 minutes before touching it again.
Step 2 – Trim All Loose Edges
Cut away any frayed threads or curling edges with sharp scissors. You want a clean flat edge on both sides of the tear. Cut – never pull. Pulling stretches the leather and creates gaps that show through every layer of filler you add.
This step matters most on ripped seats where edges are uneven – a clean trim makes every layer above it look better.
Step 3 – Insert and Glue the Backing Patch
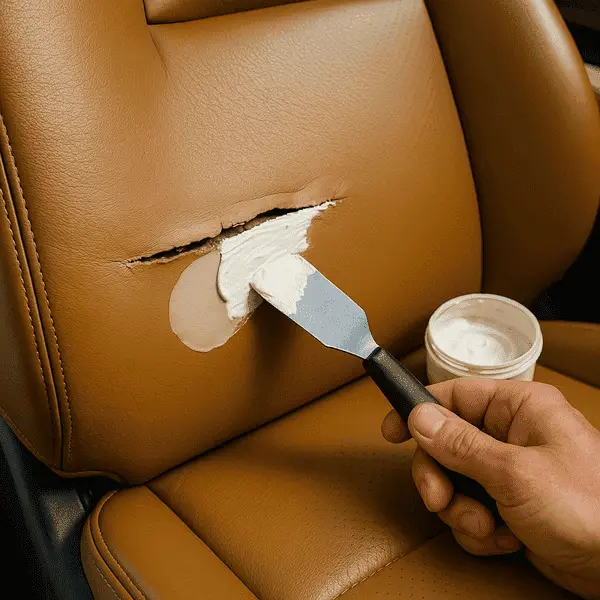
Cut backing fabric so it extends at least 1 inch past the tear on all sides. Slide it under the leather with a palette knife. Apply leather adhesive to bond the backing to the underside and hold firm for 15-20 minutes. This is the foundation everything else sits on.
Step 4 – Build Up Filler in Thin Layers
Apply filler in coats of 1mm or less. Let each layer cure fully before adding the next. You’ll need 3-5 layers total. This is the step most people rush – and it’s exactly why most DIY repairs crack within 2 months.
One thick coat shrinks as it dries, separates from the leather underneath, and cracks the first time the seat flexes under your weight.
Step 5 – Press in the Grain Texture
While the final filler coat is still slightly tacky, press a grain texture sheet firmly onto the repair for 30-60 seconds. This stamps the leather grain pattern into the surface. Skip this and the repair will look like a patch – smooth and obvious against the texture around it.
Step 6 – Sand Until Flush
Once fully cured – minimum 4 hours, ideally overnight – sand lightly with 400-600 grit until the repair is level with the surrounding leather. Wipe away all dust before the next step.
Step 7 – Match and Apply Color
Mix colorant until it matches exactly – then test on a hidden area and let it dry completely before touching the seat. Leather changes color as it ages, and wet colorant always looks different from dry. Apply 2-4 thin layers, drying fully between each.
This is the step that exposes every DIY attempt. Our technicians mix custom toner and age it against real leather samples before committing. From a $20 kit, you get three pre-mixed colors and hope for the best. On an aged tan, dark navy, or two-tone interior, close is not close enough.
Step 8 – Seal the Surface
Apply sealant to lock in the colorant and match the original sheen – matte, satin, or gloss. Do not sit on the seat for at least 4-6 hours.
What Actually Happens When People Try This at Home
Most customers who call us after trying to repair a large tear in leather car seat say the same thing: I wish I had called first.
Here is what we see every week:
- The color is off. Looks fine wet, dries 2-3 shades lighter or darker. Painfully obvious in direct sunlight.
- The filler cracks. Budget compounds are not flexible enough for a surface that flexes every time someone sits down. Most fail within 6-12 weeks.
- The repair zone grew. A 2-inch tear becomes a 5-inch patched area that draws more attention than the original damage ever did.
- Professional repair now costs more. Dried filler and contaminated colorant require extra prep work – we charge more to fix a failed DIY than to fix the original tear.
We also get calls about cracked leather car seat repairs gone wrong – people who used filler meant for tears on a cracking surface, and ended up with a patchy mess across half the seat.
The math most people miss: $60-$120 in materials plus 4-5 hours of your time plus the risk of making it worse – versus a professional mobile repair from $150, done right the first time at your location.
When You Should Just Call a Professional
A good kit can handle a clean nick under 1 inch on standard pigmented leather. Everything else is a risk. Call a professional if:
- The tear is longer than 2 inches
- You can see backing, foam, or fabric underneath
- The damage is on a bolster, center fold, or headrest
- Your vehicle has aniline, nubuck, or exotic leather
- Resale value matters to you
- Someone has already attempted a DIY repair on this seat
Full reupholstering starts at $800 and goes well past $2,500. A mobile repair in San Diego runs $200-$450. The gap between those numbers is exactly why it’s worth one phone call before you open that kit.
Get an Honest Assessment – Free, No Shop Visit
Not sure if you can repair a large tear in leather car seat yourself or need a pro? Send us a photo. We’ll tell you honestly what you’re dealing with and what it will cost – no pressure, no appointment needed.
Text us a photo: (619) 510-3620
We respond within a few hours with an exact quote. And if it’s genuinely something you can handle yourself, we’ll tell you that too.